Here I explain how my search for the perfect Vespa ride POV DJI Nano mount cost me around $400…
If like me you video your journeys on you Vespa or any other 2 wheeled mode of transport, the hunt for the perfect POV can at time be tricky.
The bog standard chin mount for full face helmets tends to be the most popular followed by side of the crash hat and maybe on top, which is where my most recent mount was until now.

How did it cost so much Dave?
Can I explain a little bit why I have gone down this path before the costing reveal ?
So as I mention before on my Shoei J Cruise 2 I ended up opting for the mount to be on the top of the helmet and used my DJI action 5 pro on there. It works but my gut told me there was a better way.
I have the awesome & small Nano and felt I needed to bring this to the fore rather than have it languish as my roaming about camera for when ride stop. It can still do this and I have a bonus mount for that later.
Looking around Youtube as you do I stumbled on a chaps video where he demonstrated a Nano seated under the rim of his sun visor fixed to his adventure off road style helmet.
That got me thinking…
What if I could do the same but on my open face helmet that also has a sun peak visor?
Damn….. I sold it as I did not get on with it at all, to noisey even with the clip on windshelid.
Ok what to do now? The idea looks good and worth pursuing.
Shoei JO.2

That’s when I stumbled on the new Shoei JO.2 open face helmets with the built in “half visor” which also has a sun peak available. Cost ……. about £350 as of the date of writing this piece.
Then add £24.99 for the peak this was mounting up to be one hell of an expensive experiment.
The chap in the video also mention a mount that offered charging as you go possibilities so I bought that off eBay for £14.99 delivered namely the “TELESIN Magnetic Quick Release Dual Claw Charging Adapter for Osmo Nano” search on eBay or Amazon and you will find it.
After everything arrived it was off to work fitting the Telesin mount to helmets sun visor but how ?
Burn baby Burn.
The Telesin mount has a 1\4″ hole to take small camera stands and I have a spare camera mount which I remover the bolt from to use to screw down from the top of the peak to the mount below.
Heating my a screw driver and BURNING my way trough the plastic I mad the perfect size hole for the bolt and did a test fit.
Fits Perfect.
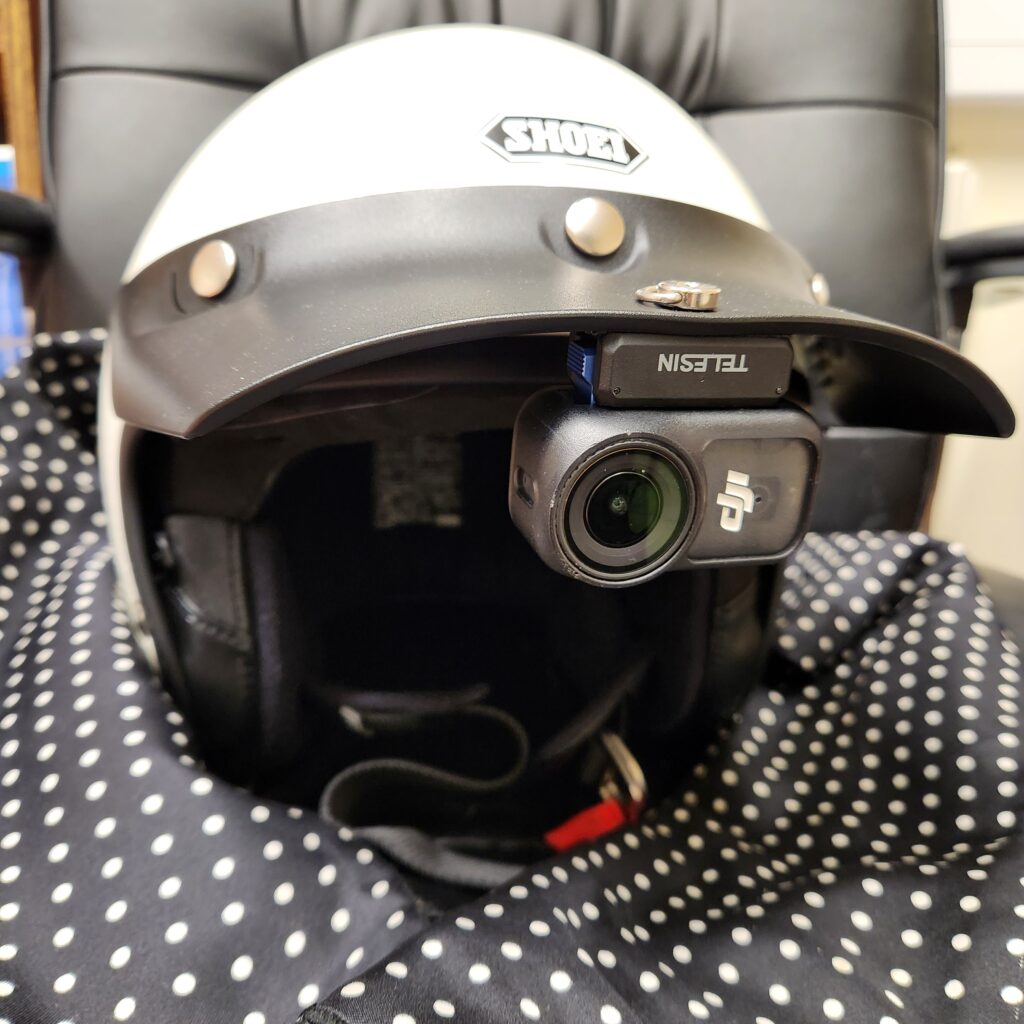
So here is the solution with the Nano under the sun visor.
What is it like to ride with the Nano there Dave?
Take a moment or two to get use to Nano being there but it soon fades out of full view after a few minutes to the point where I did not notice it for my first ride with it into work today. 22.04.26.
What dose this mean for future videos going forward?
This position gives a more natural feel over the top of the helmet mount I was using on my J Cruise II.
Here is a small 10 minute ride home video which demonstrates just how perfect this is for us Open Face helmet fans.
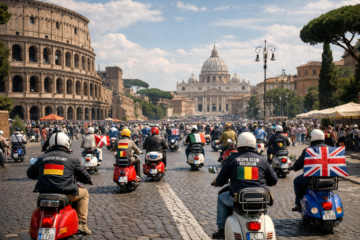
I am also thinking of selling my Action 5 pro and buying another Nano for backup on my Scooter Rallies rides and definitely for the Rome adventure in June 2026.
That will also mean a quick swap over when the battery in the Nano needs charging for near continuous recording when I’m out having fun on Phoenix, my Vespa GTS 300.
A little bit of truth….
I managed to bag this ex display Shoei JO.2 for £175 so the new Nano mount cost less than it would if full retail price was my only option. But still a big chuck of beer tokens for a mount lol.
Pop over to my YouTube channel https://www.youtube.com/@DavesAdventuresUK to see how I am getting on with kitting up for the UK Rallies and Rome Adventure and how this new mount setup adds to the content I bring to you.
As always I wish you well and safe journeys.
DC x

0 Comments